Recent Stories
November 18, 2020 Free Mac Data Recovery
Does a Mac have a Built-in Data Recovery Tool?
By: Vishal
November 6, 2020 Mac Data Recovery
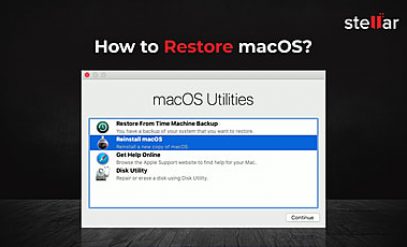
How to Easily Restore macOS?
November 2, 2020 Free Mac Data Recovery
Can I Fix Time Machine Error 45 on macOS?
October 21, 2020 Free Mac Data Recovery
How to Recover Photoshop Files on Mac for Free
October 16, 2020 Free Mac Data Recovery
How to Get Deleted Screenshots Back on Mac For Free?
October 8, 2020 Free Mac Data Recovery
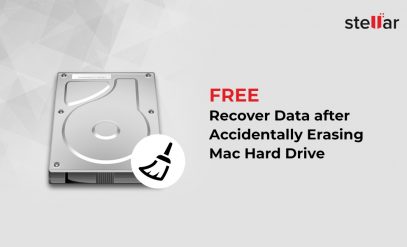
Recover Accidentally Erased Mac Hard Drive
October 5, 2020 Mac Data Recovery
SSD Not Readable by Mac? Get It Fixed.
September 25, 2020 Free Mac Data Recovery
Recover Files from External Hard Drive on Mac for Free
September 24, 2020 Mac Data Recovery
Fix Startup Kernel Panic Error on Mac
Free Software for Deleted MXF Files Recovery on Mac